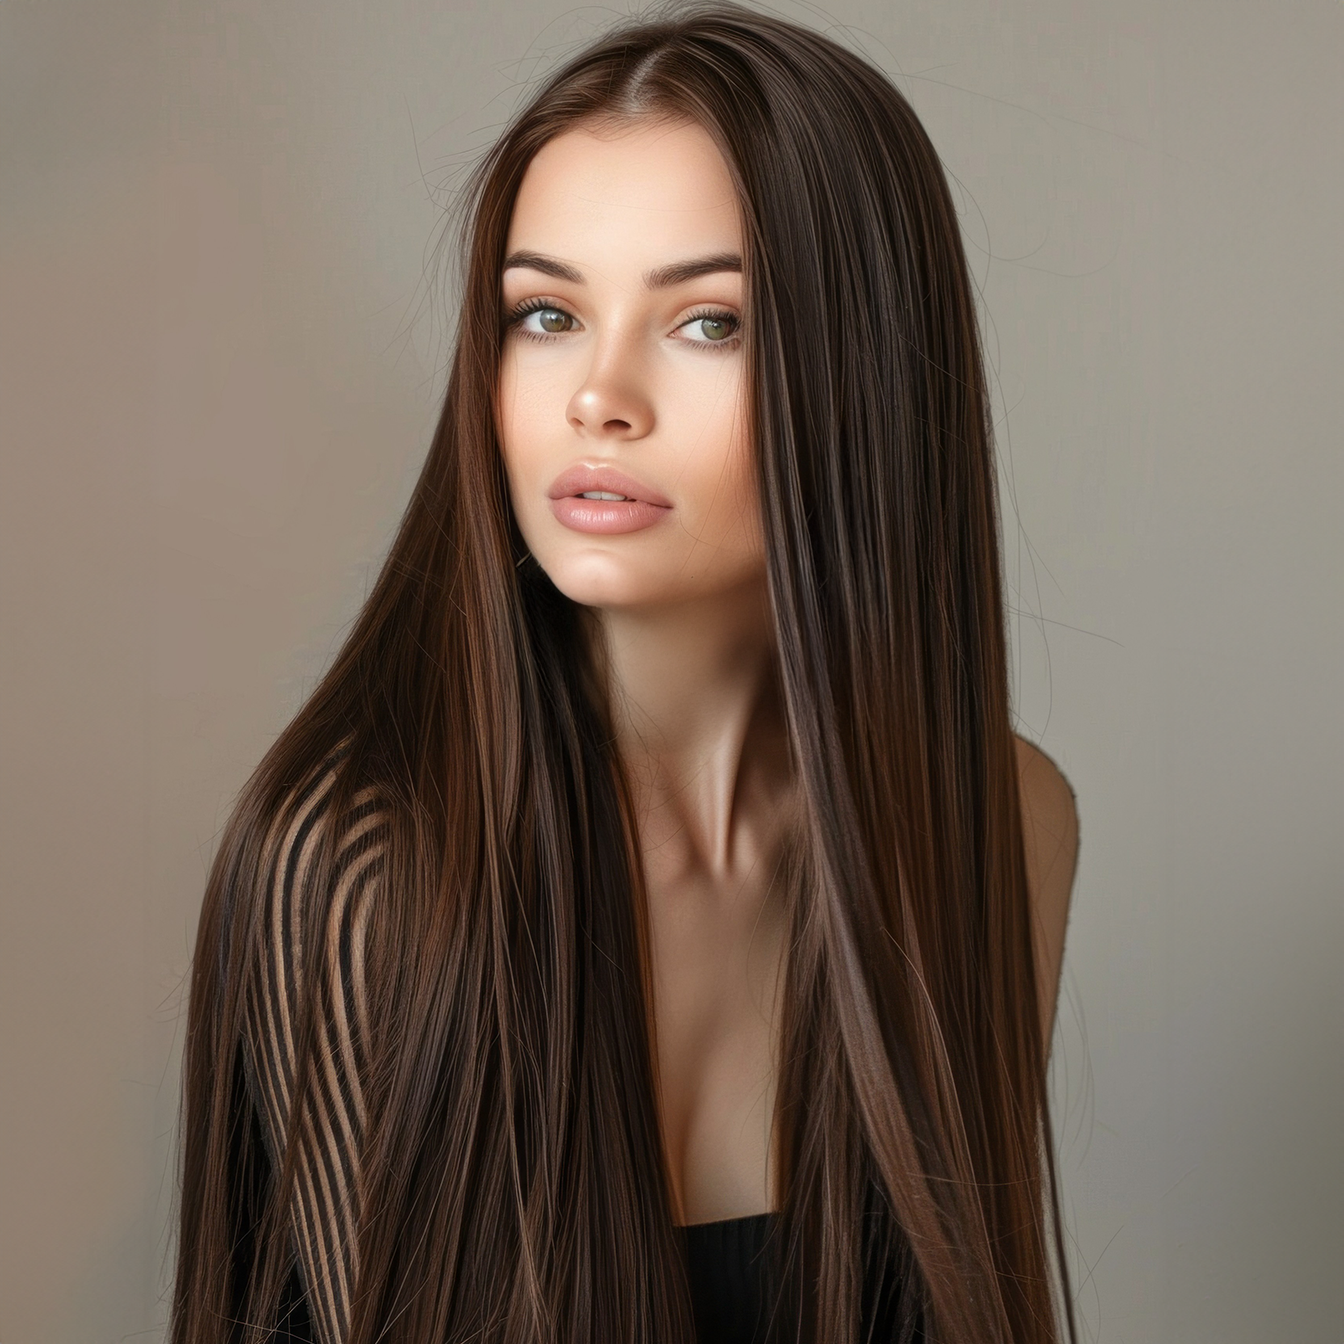
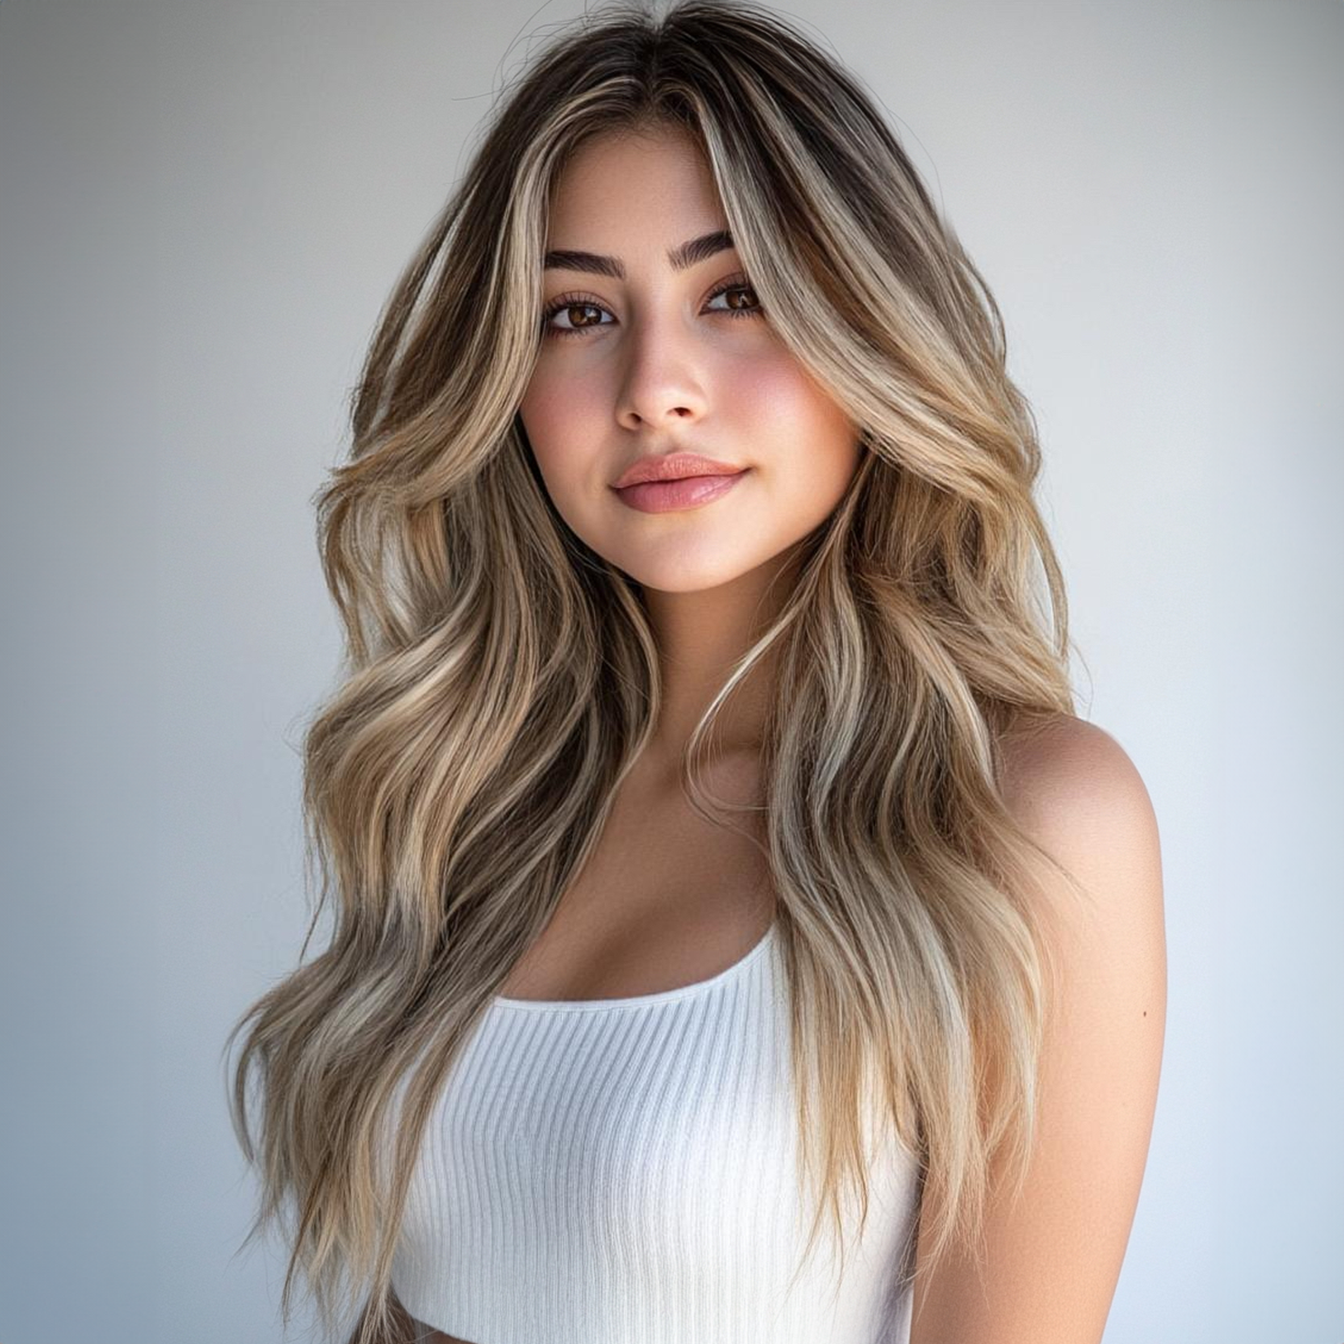
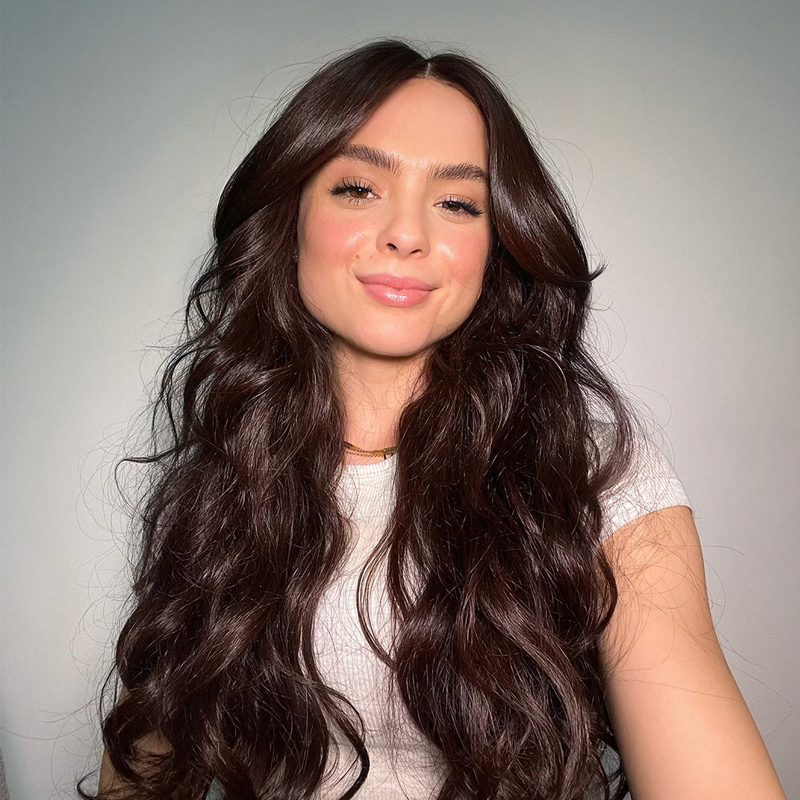
If you're looking for a way to have bangs without the risky move of cutting your own, I have great news for you! You can transform a weft from your hair extensions or use one of your old set of hair extensions into stylish clip-in bangs, right from the comfort of your home.
Here's @jackiewyers's full tutorial on creating clip-in bangs using Irresistible Me hair extensions, which inspired us to create this article:
The best part about trying clip-in bangs is that if you don’t like how they look, you don’t have to wait for your hair to grow back. Store-bought clip-ins often don't suit every face shape, so creating your own can be a better choice.
We've created this guide to walk you through the process of making your own bangs at home, without cutting your own hair:
Step 1: Choose a Set of Clip-in Human Hair Extensions.
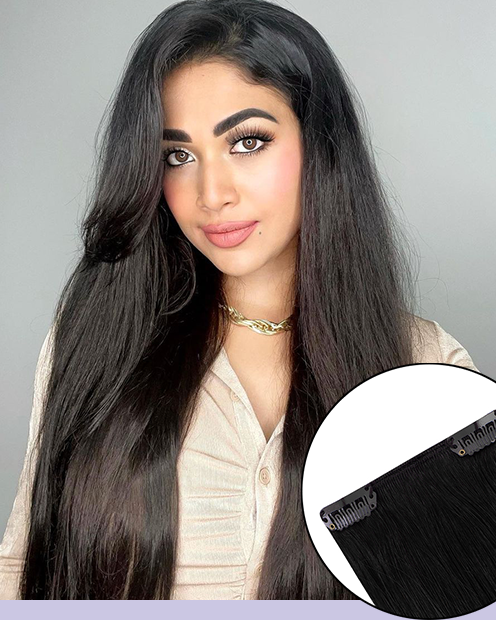
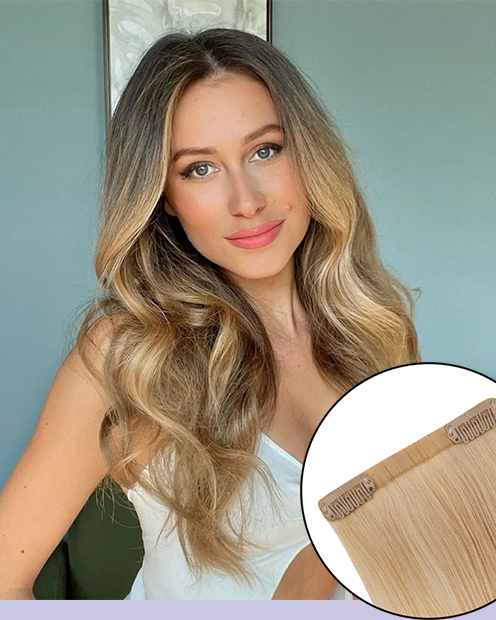
To start, you'll need some hair extensions. You can use a small weft from your Irresistible Me hair extensions set or any old set you already own.
It's best if the extensions are made from human hair and match your natural hair color. If they don't match, you can easily dye human hair extensions to the right shade.
Step 2: Prepare and section your hair.
You’ll need sharp scissors, a fine-tooth comb, clips for sectioning, hair ties, and a measuring tape. Lay out your hair extensions and tools on a clean, flat surface. If your extensions are tangled, gently brush them out starting from the ends and working your way up to the roots.
Section your hair into a V-shape at the back, brush it thoroughly, and then separate it into two parts. Secure this part into a small bun.
Step 3: Measure and Cut.
Measure the width of your forehead from one hairline to the other to determine how wide the bangs should be. Commonly, this is about 4-6 inches.
Add the hair extensions wefts and make sure to make the first cut by the collarbones. It’s better to cut them a bit longer initially—you can always trim more later.
Step 4: Trim and Style Your Bangs.
Here’s where it gets personal! Decide on the style of bangs you want. Wispy bangs, blunt cuts, and fringe styles are all amazing options.
Start by separating the longer parts of the bangs. Put them behind your ears, or clip them in place, and start with the front section.
Begin by taking only two small strands and cutting below your eyebrows, you can always cut more later. Then, continue with a seamless transition vertically on each side.
Keep in mind to watch yourself in the mirror and see which length matches you best. This step might be easier with help from a friend or a stylist. 
Step 5: Color and Texture Match.
Step 6: Final Fitting.
Once styled, blend the edges with your own hair using a brush or your fingers. Now that your clip-in bangs are ready, it’s time to show them off!

Add Clip-in Bangs To Other Hairstyles.
Clip-in bangs are versatile and can be worn with various hairstyles. Pair them with a ponytail, a bun or let them frame your face with your hair down, or incorporate them into a more elaborate updo. The beauty of clip-in bangs is that you can change your look as often as you want without any permanent changes.
Here's a tutorial made by @Octavia B - making her own clip-in side bangs using Irresistible Me hair extensions and pairing them with a beautiful top knot:
Making clip-in bangs from your set of hair extensions is a great way to reuse them and change up your style. These bangs can make your look more fun and trendy.
If you'd rather not make your own clip-in bangs, you can also pick a wig that already has bangs or trim the bangs on a wig that you already have.
There are always other options worth trying before making a decision to chop your hair. These are one of the easiest and safest options you can try and test at home. If you never try, you'll never now. ❤
