Great 4.5 | 3,400+ Reviews.
not sure?
not sure?
clip in hair extensions.
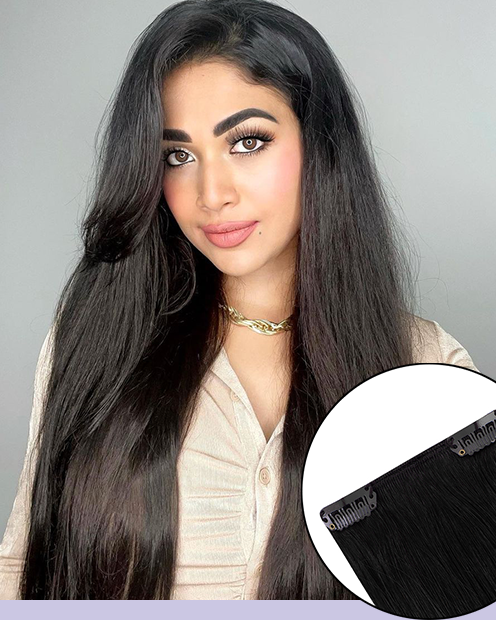
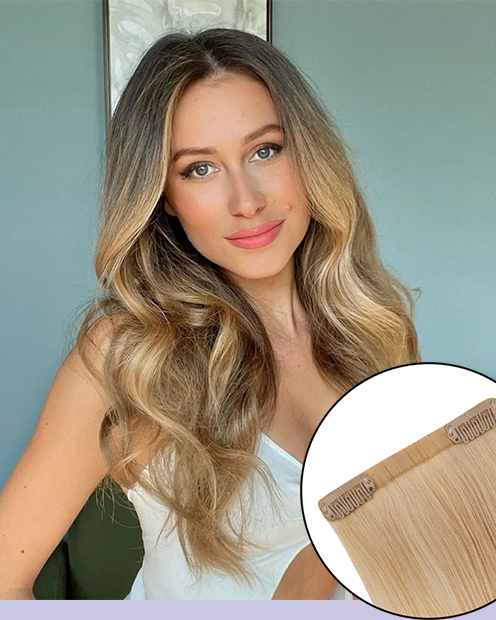
Clip-in hair extensions offer an easy and versatile way to enhance your hairstyle. Shop the most affordable high-quality clip-in extensions on the market, perfect for a variety of hair types.
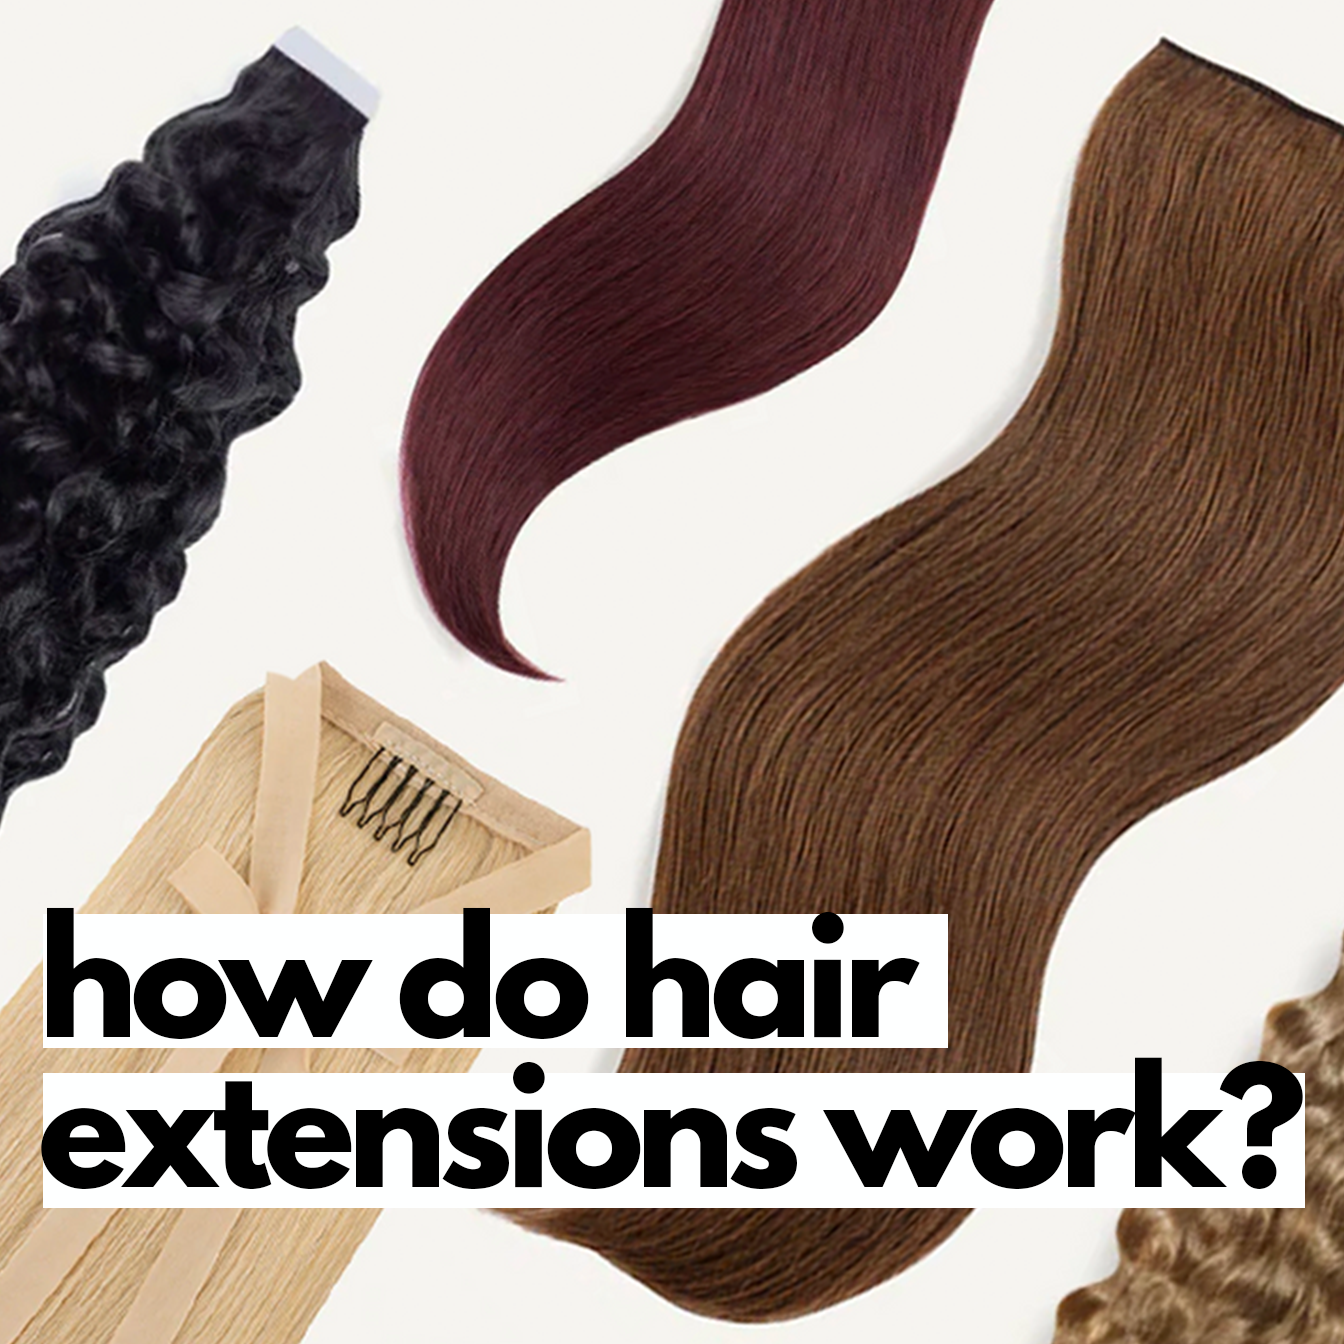
Clip-in extensions are not only a great way to add length and volume, but they also allow for experimentation with different hairstyles without any long-term commitment. Our clip-in human hair extensions are made from high-quality materials, ensuring a natural look and feel. Human hair extensions, in particular, offer the most realistic appearance and can be styled just like your own hair – they can be washed, cut, colored, and heat-styled.
Whether you're looking to add extra thickness for a fuller look or dreaming of long, flowing hair, clip-ins can make it happen instantly. They're perfect for special occasions like weddings, proms, or even a night out, as well as for everyday wear.
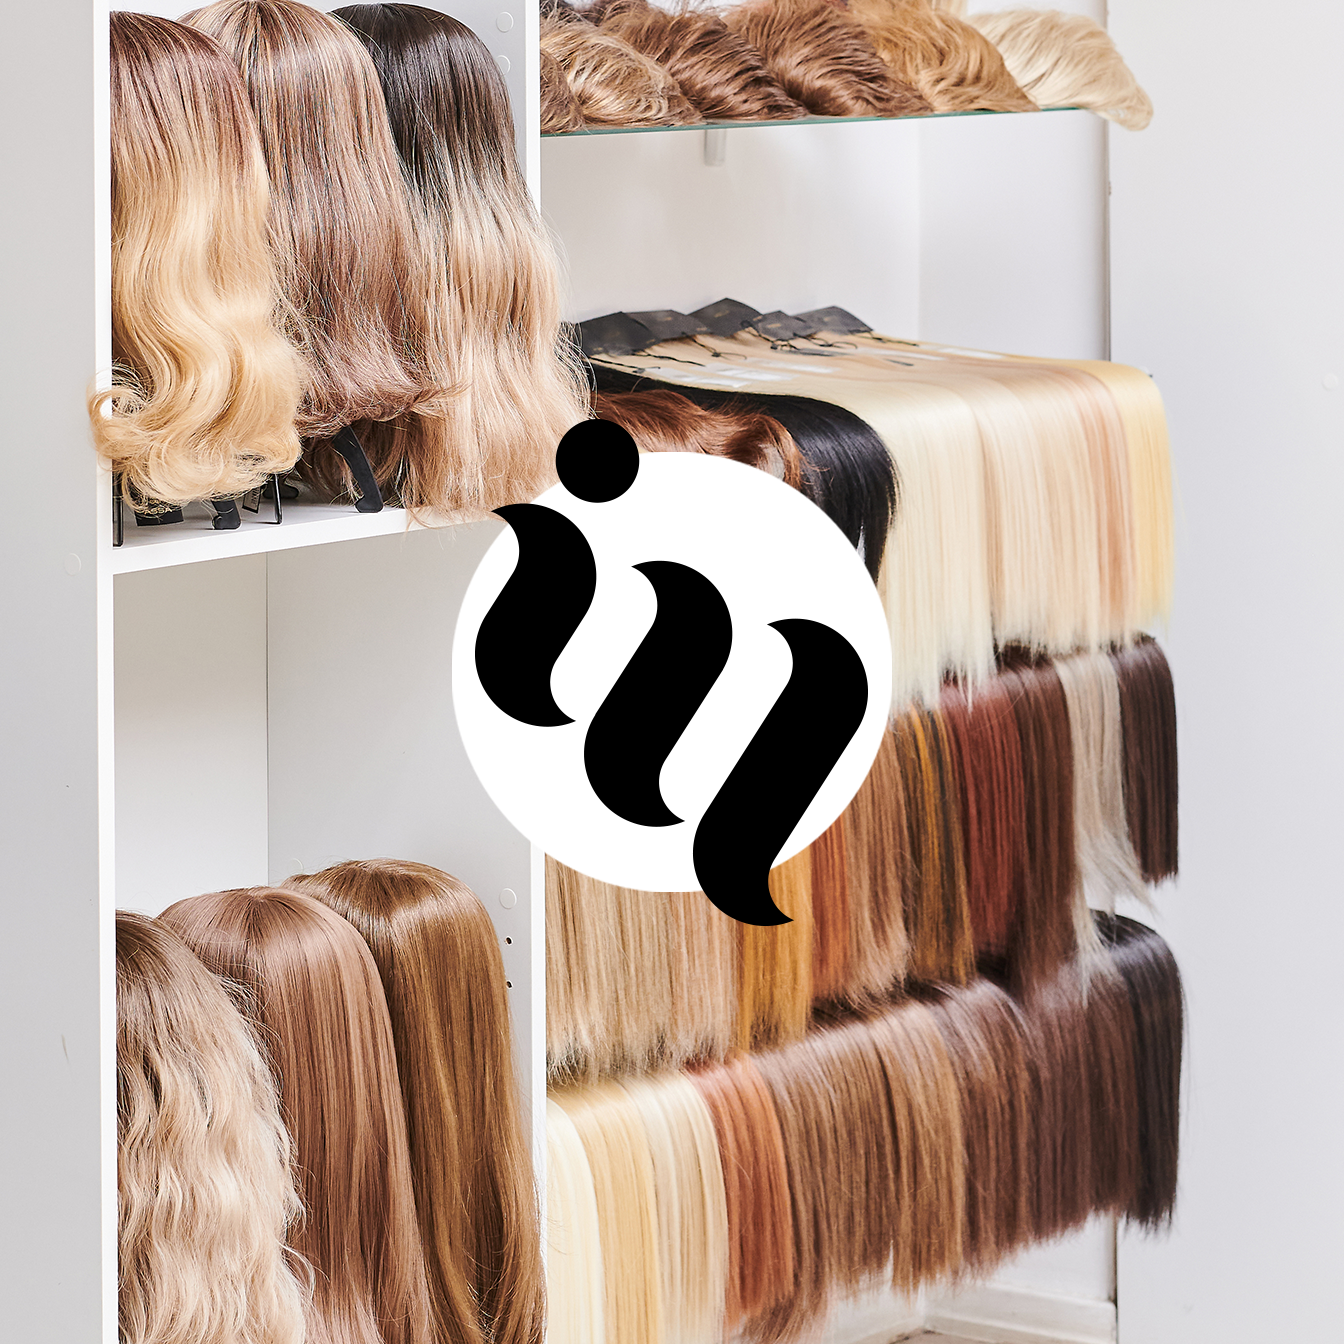
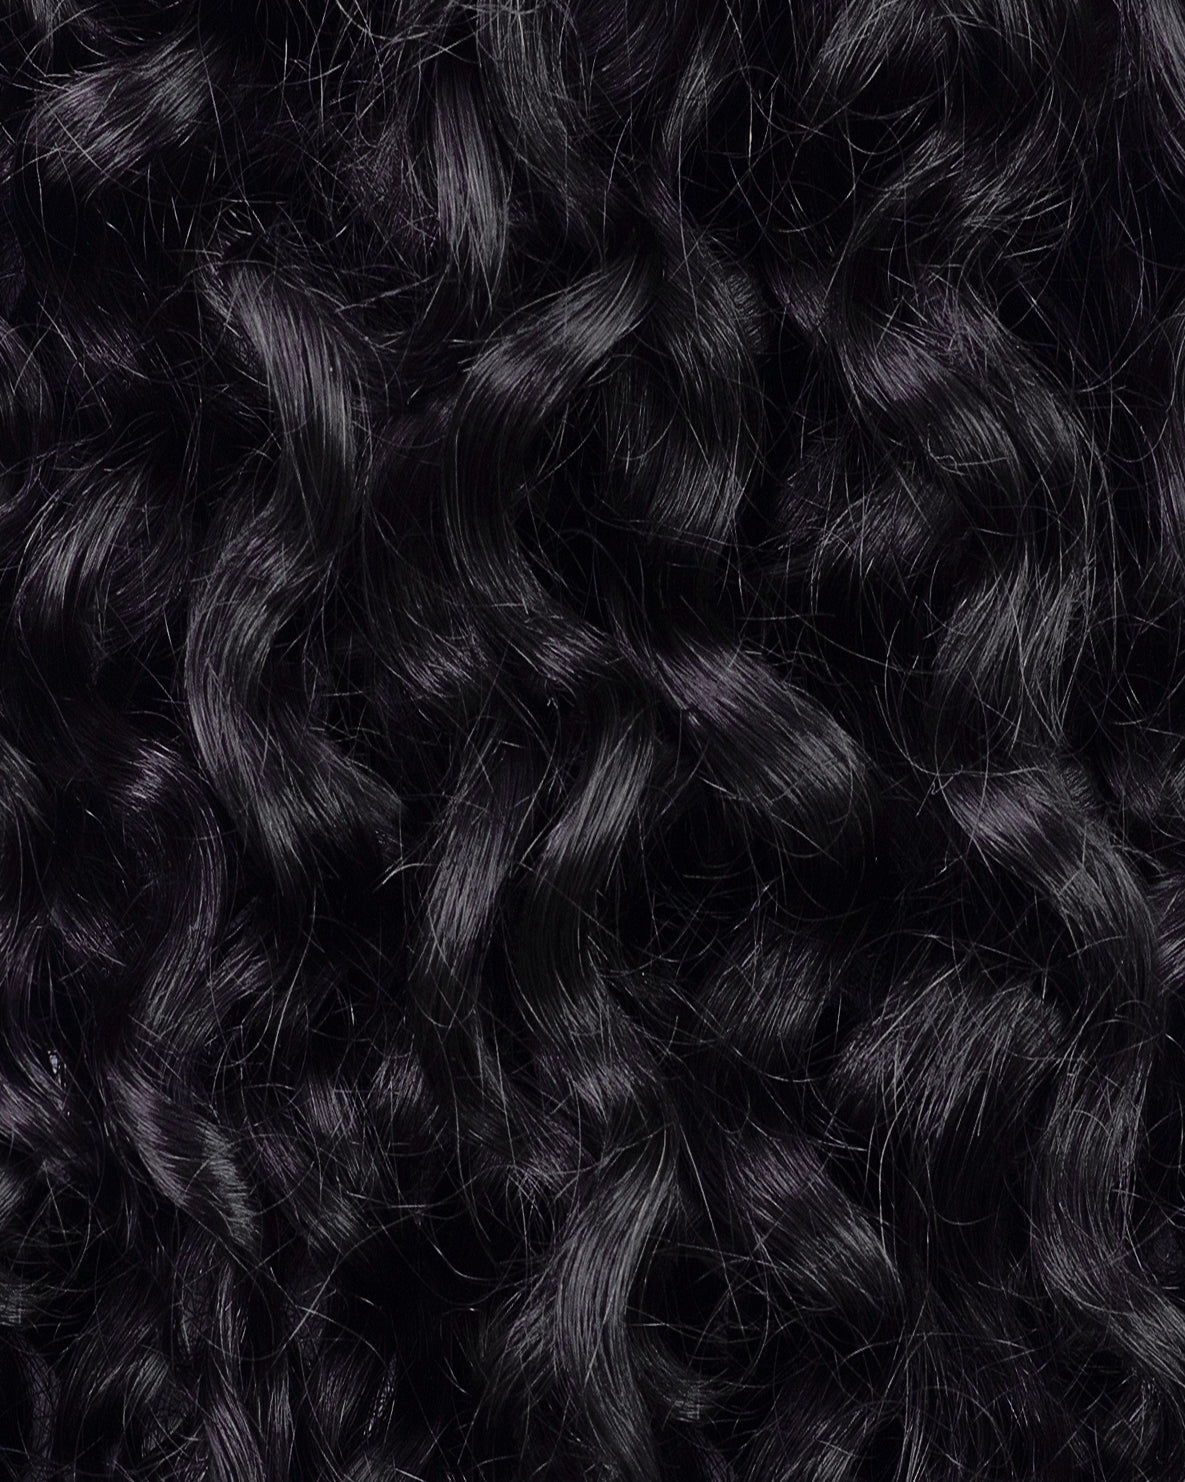
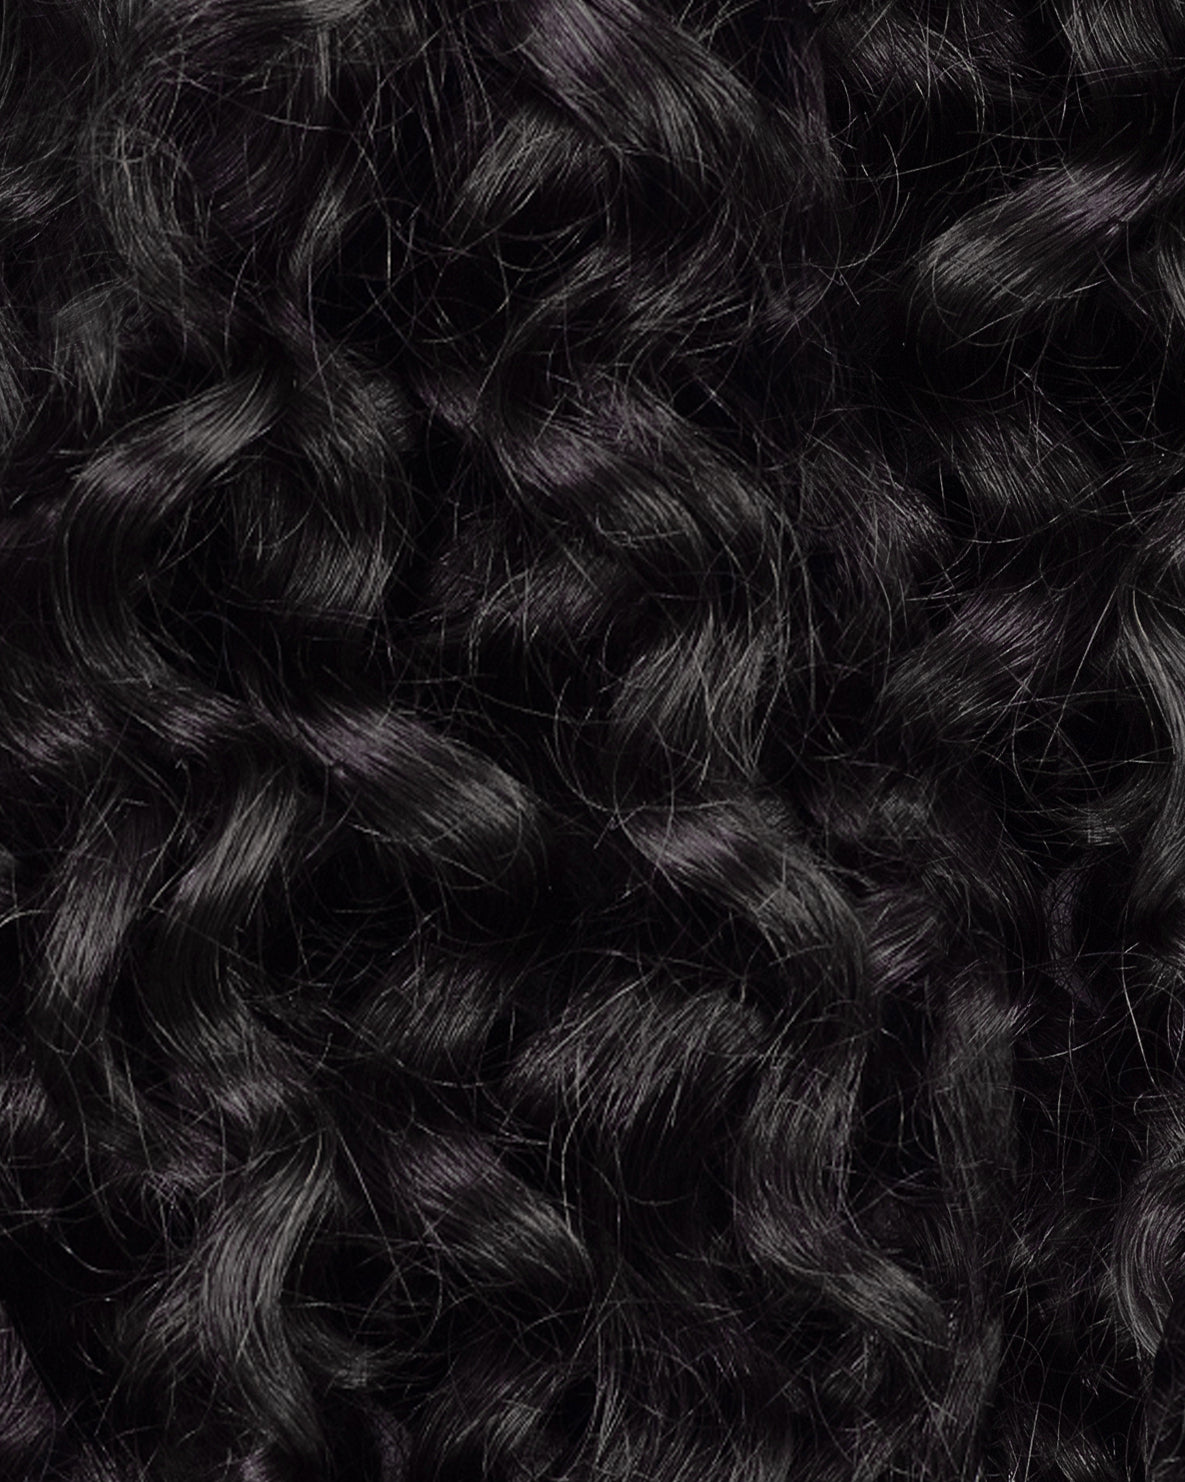
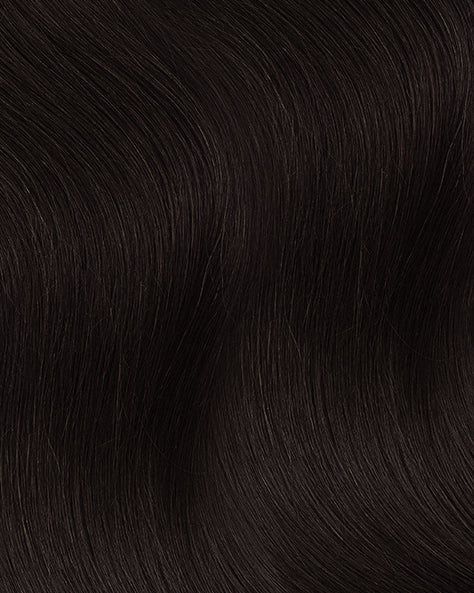
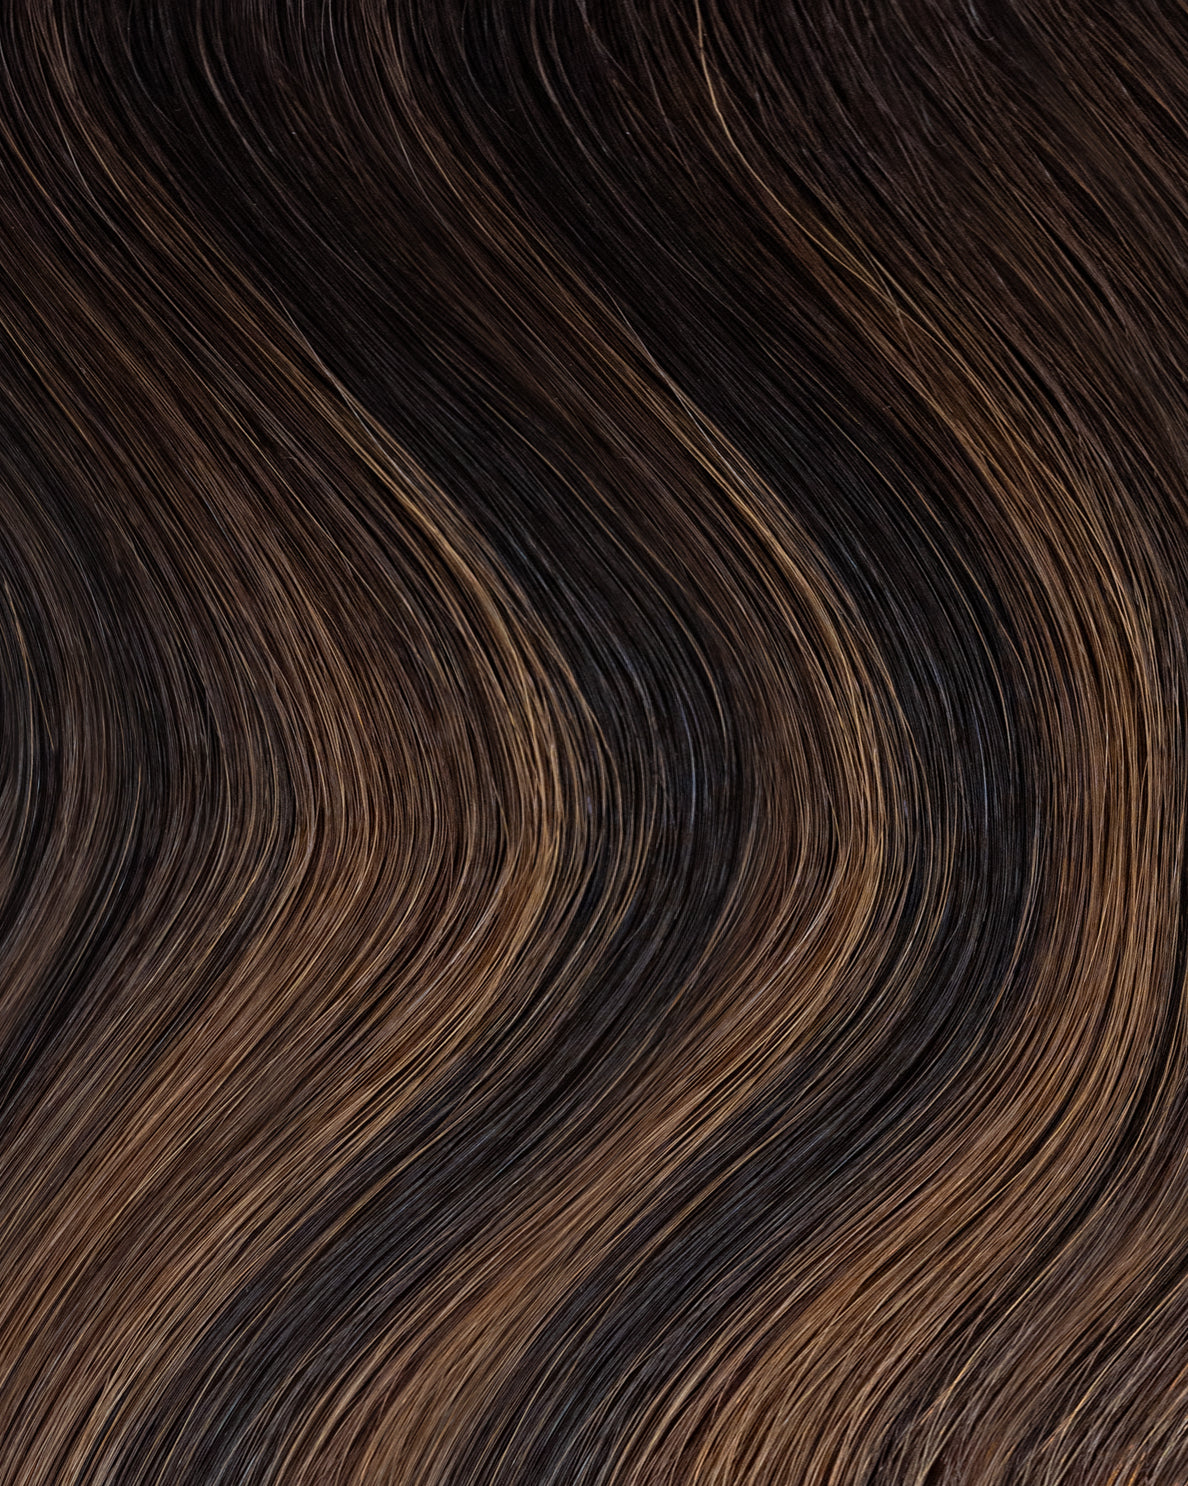
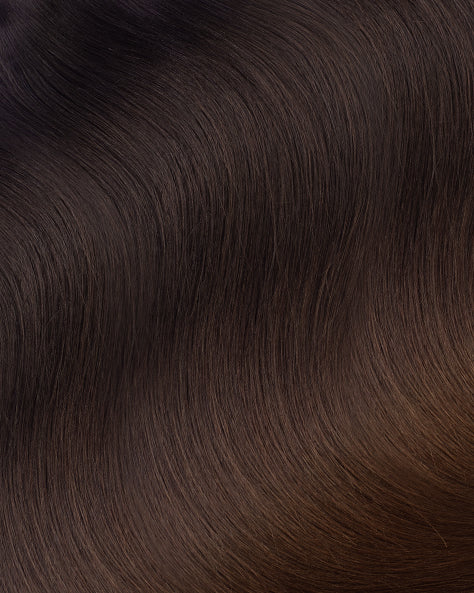
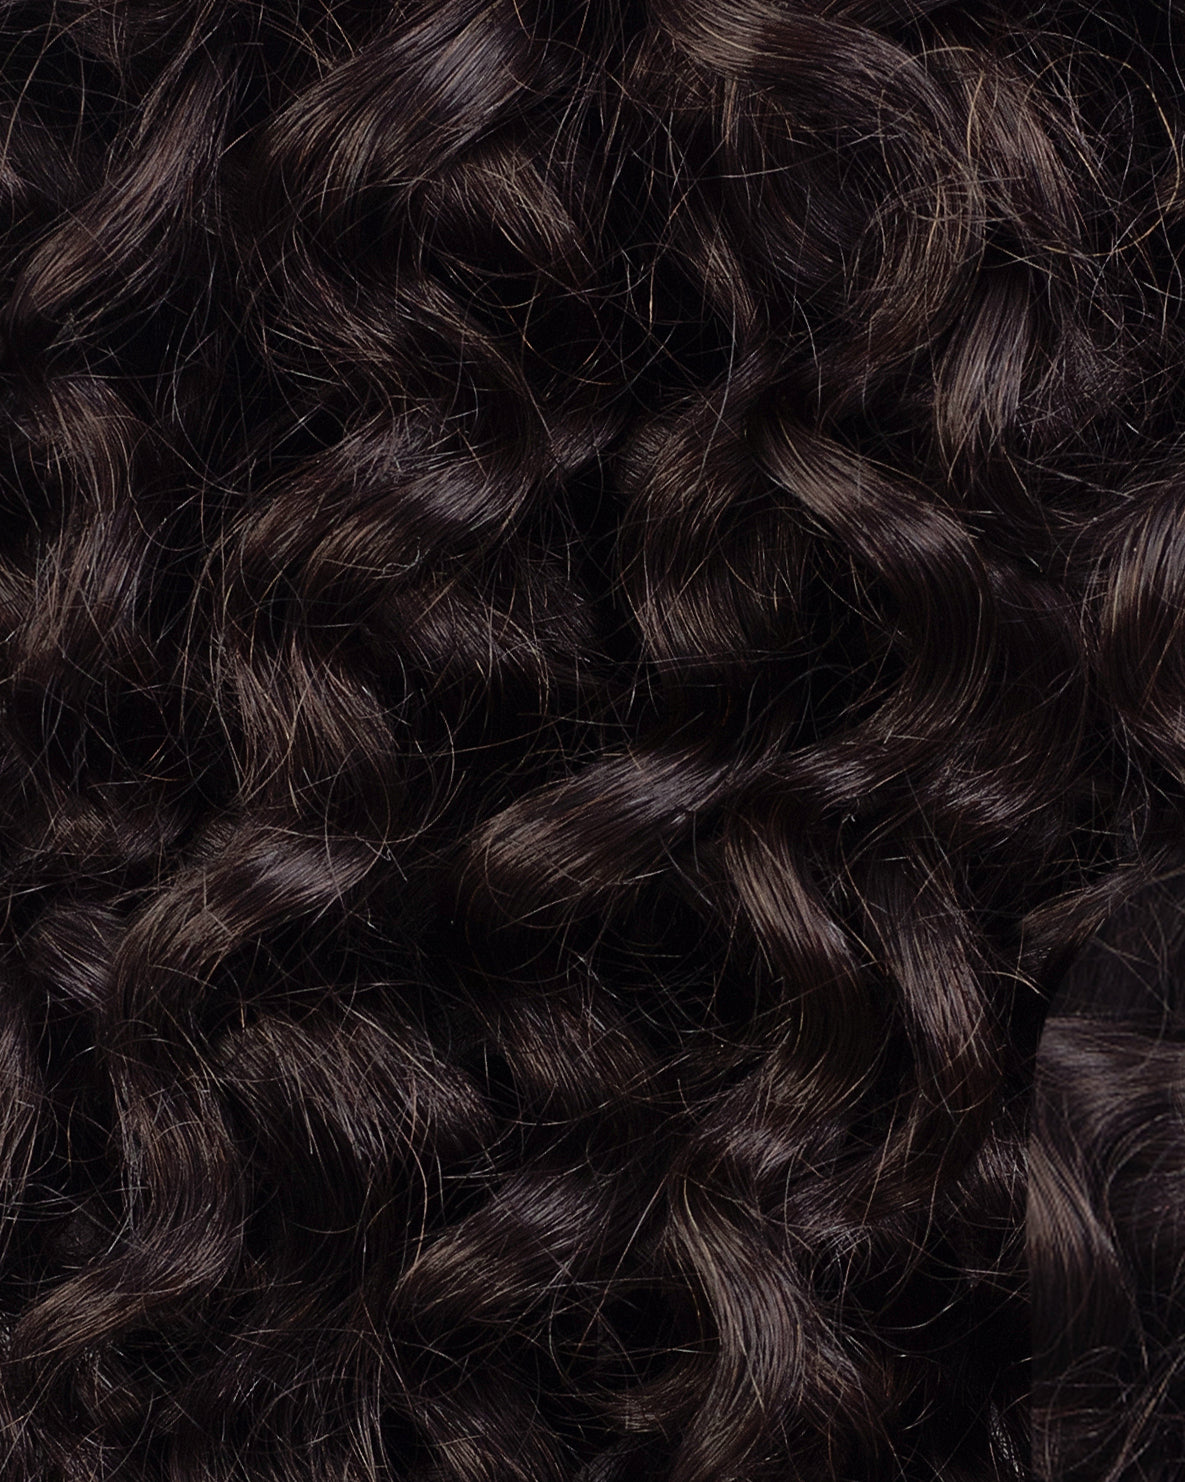
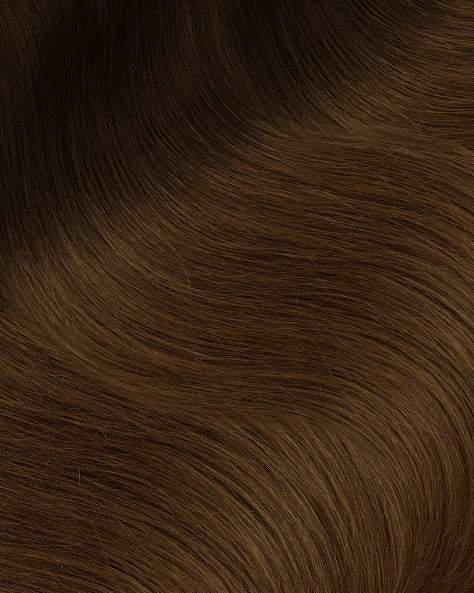
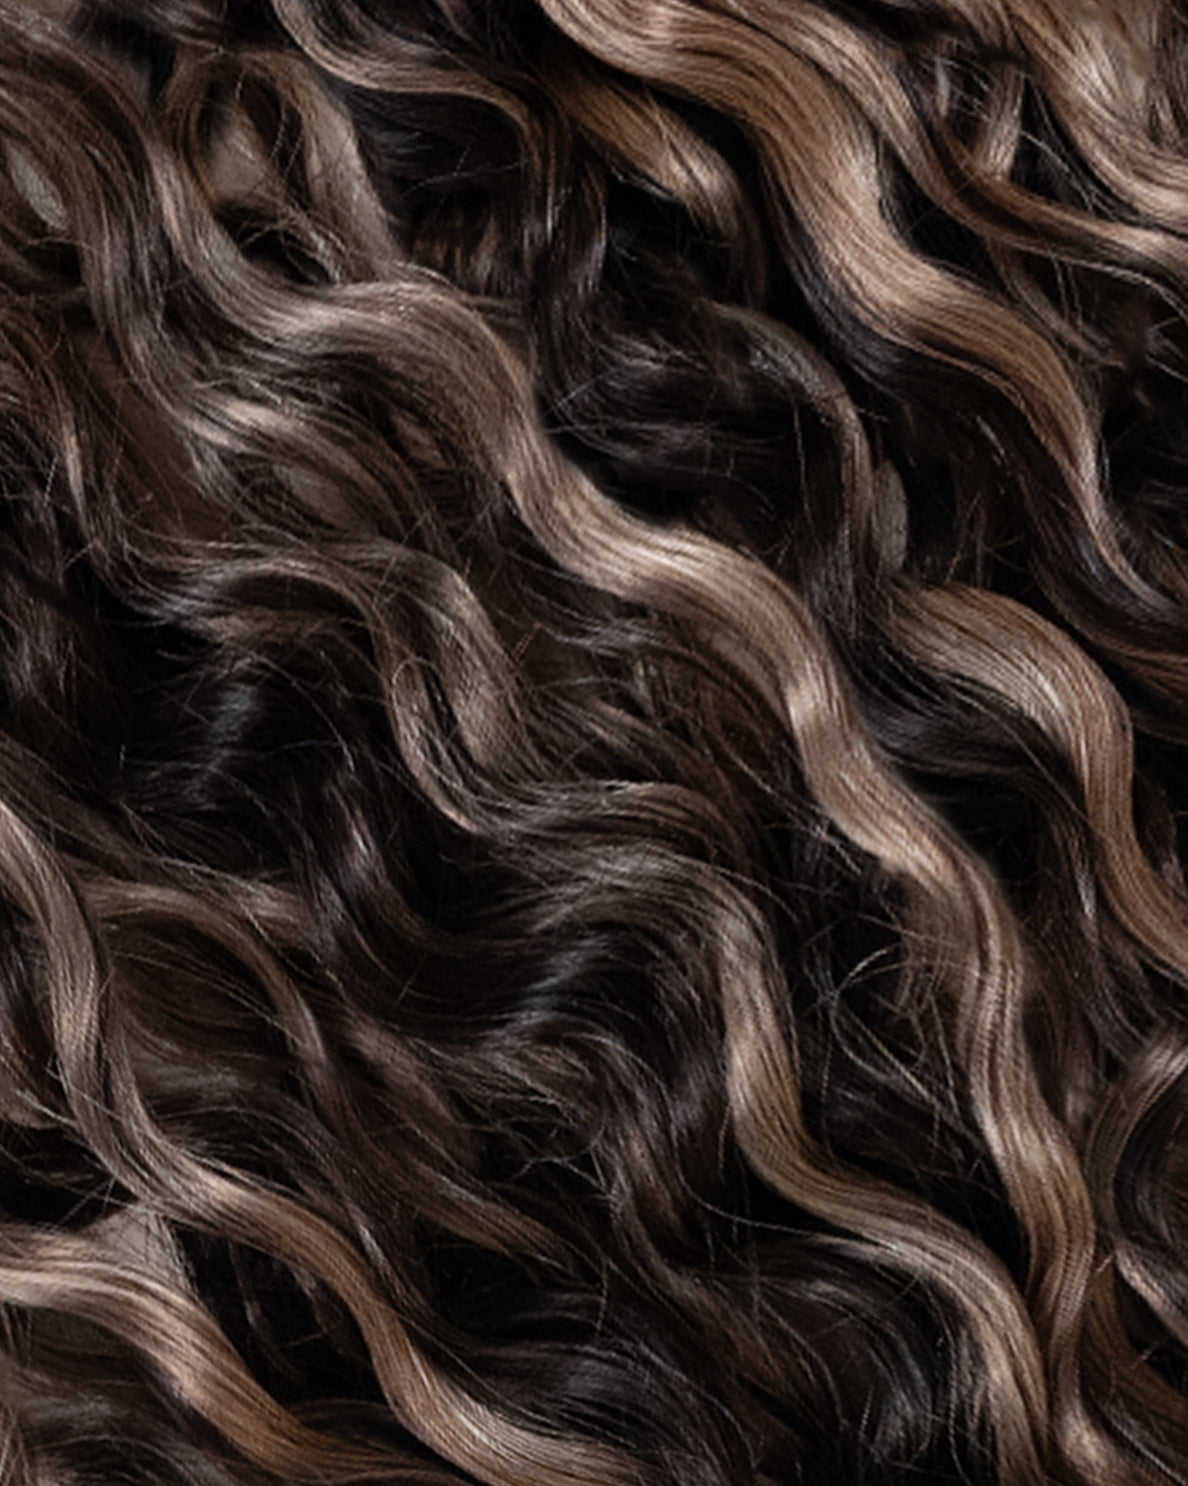
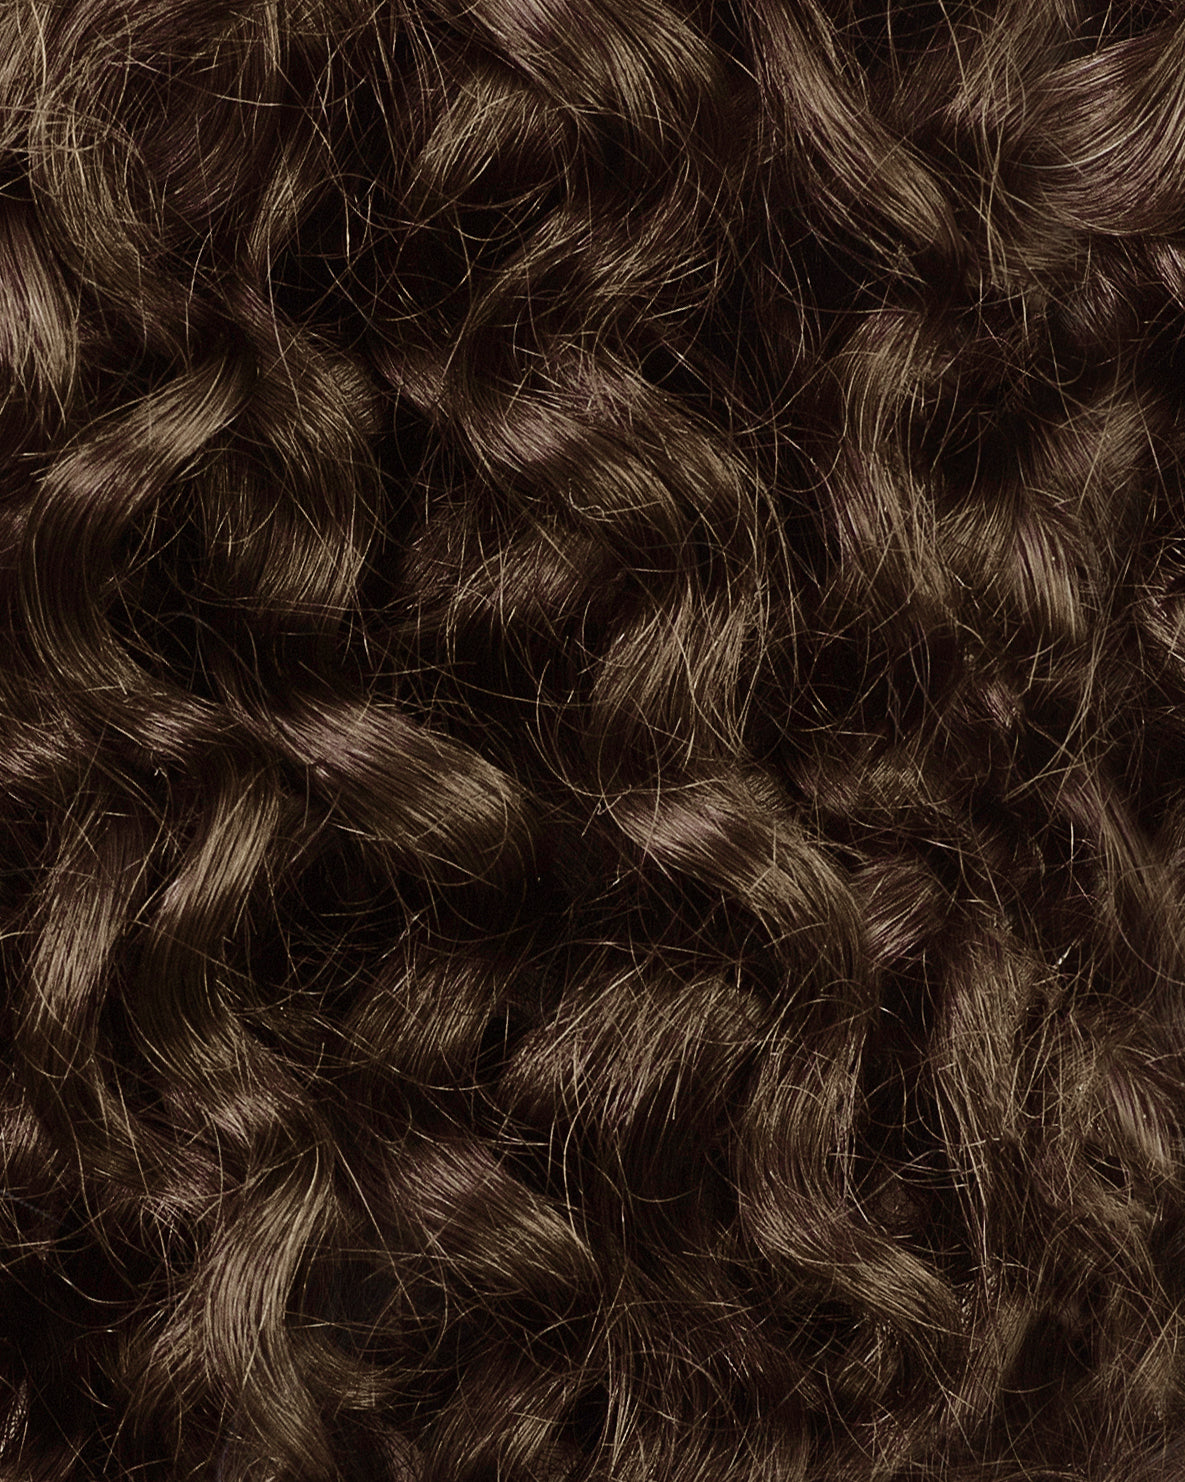
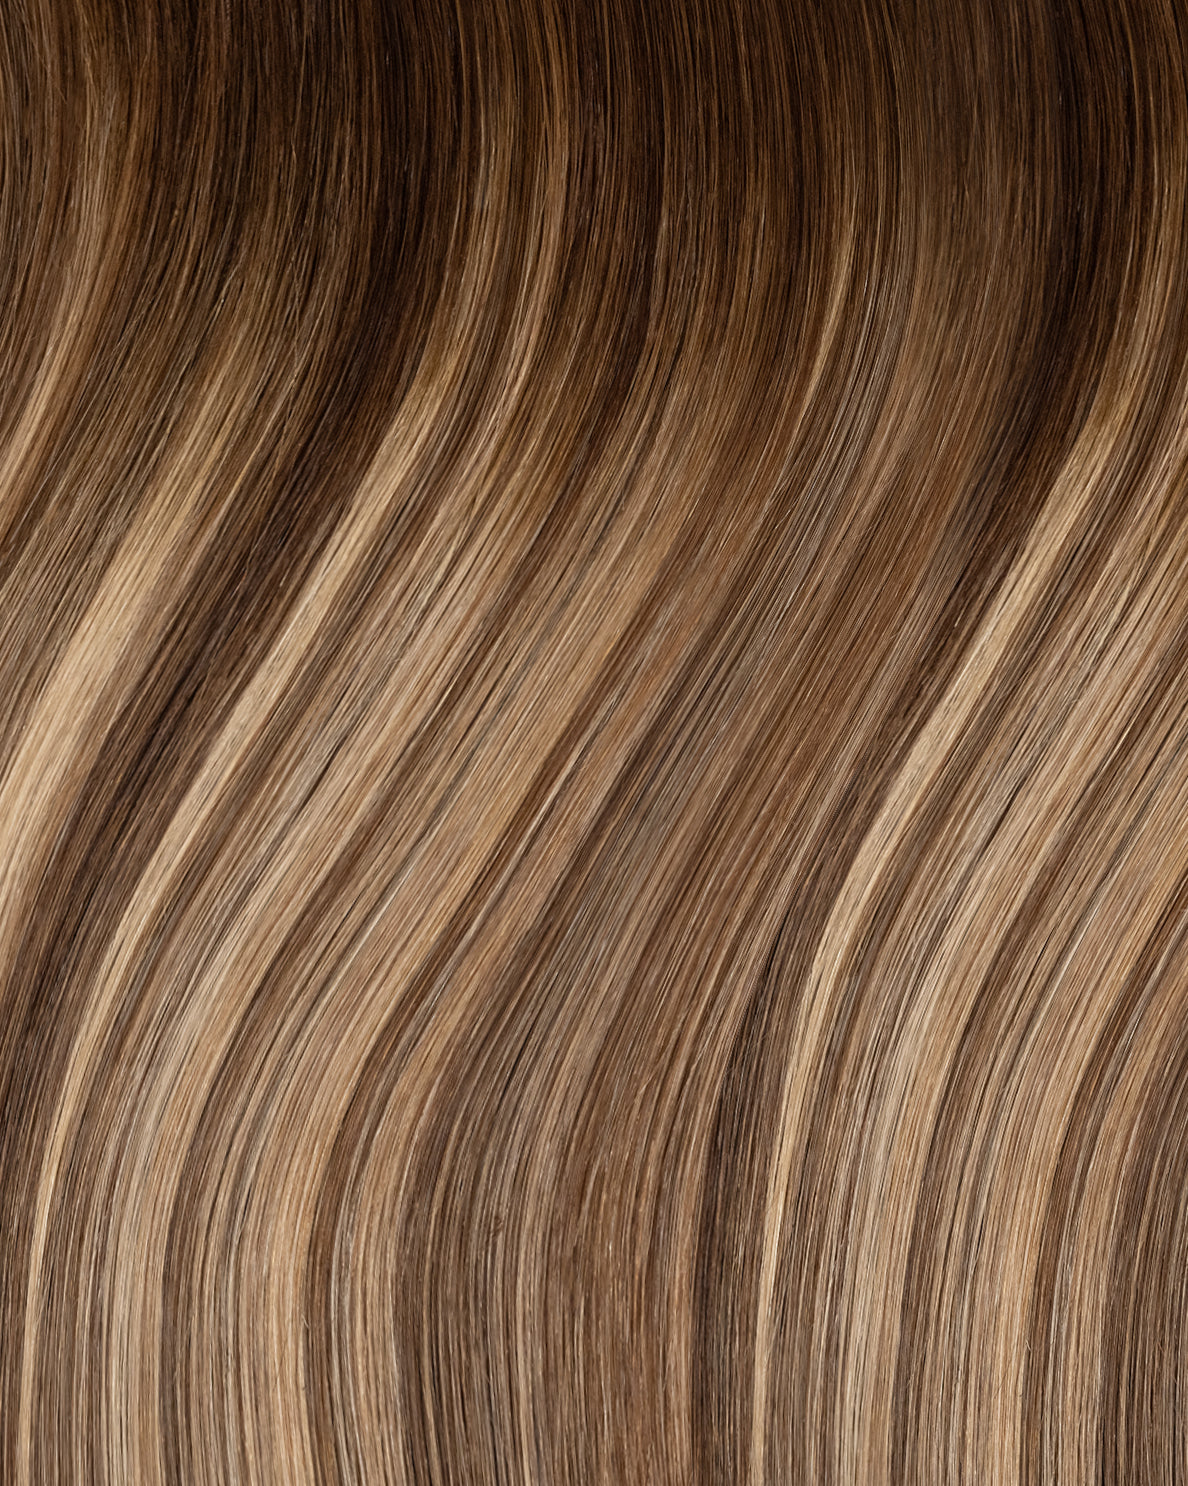
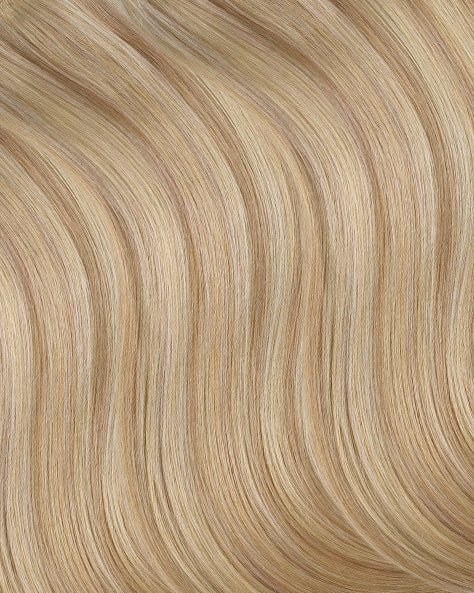
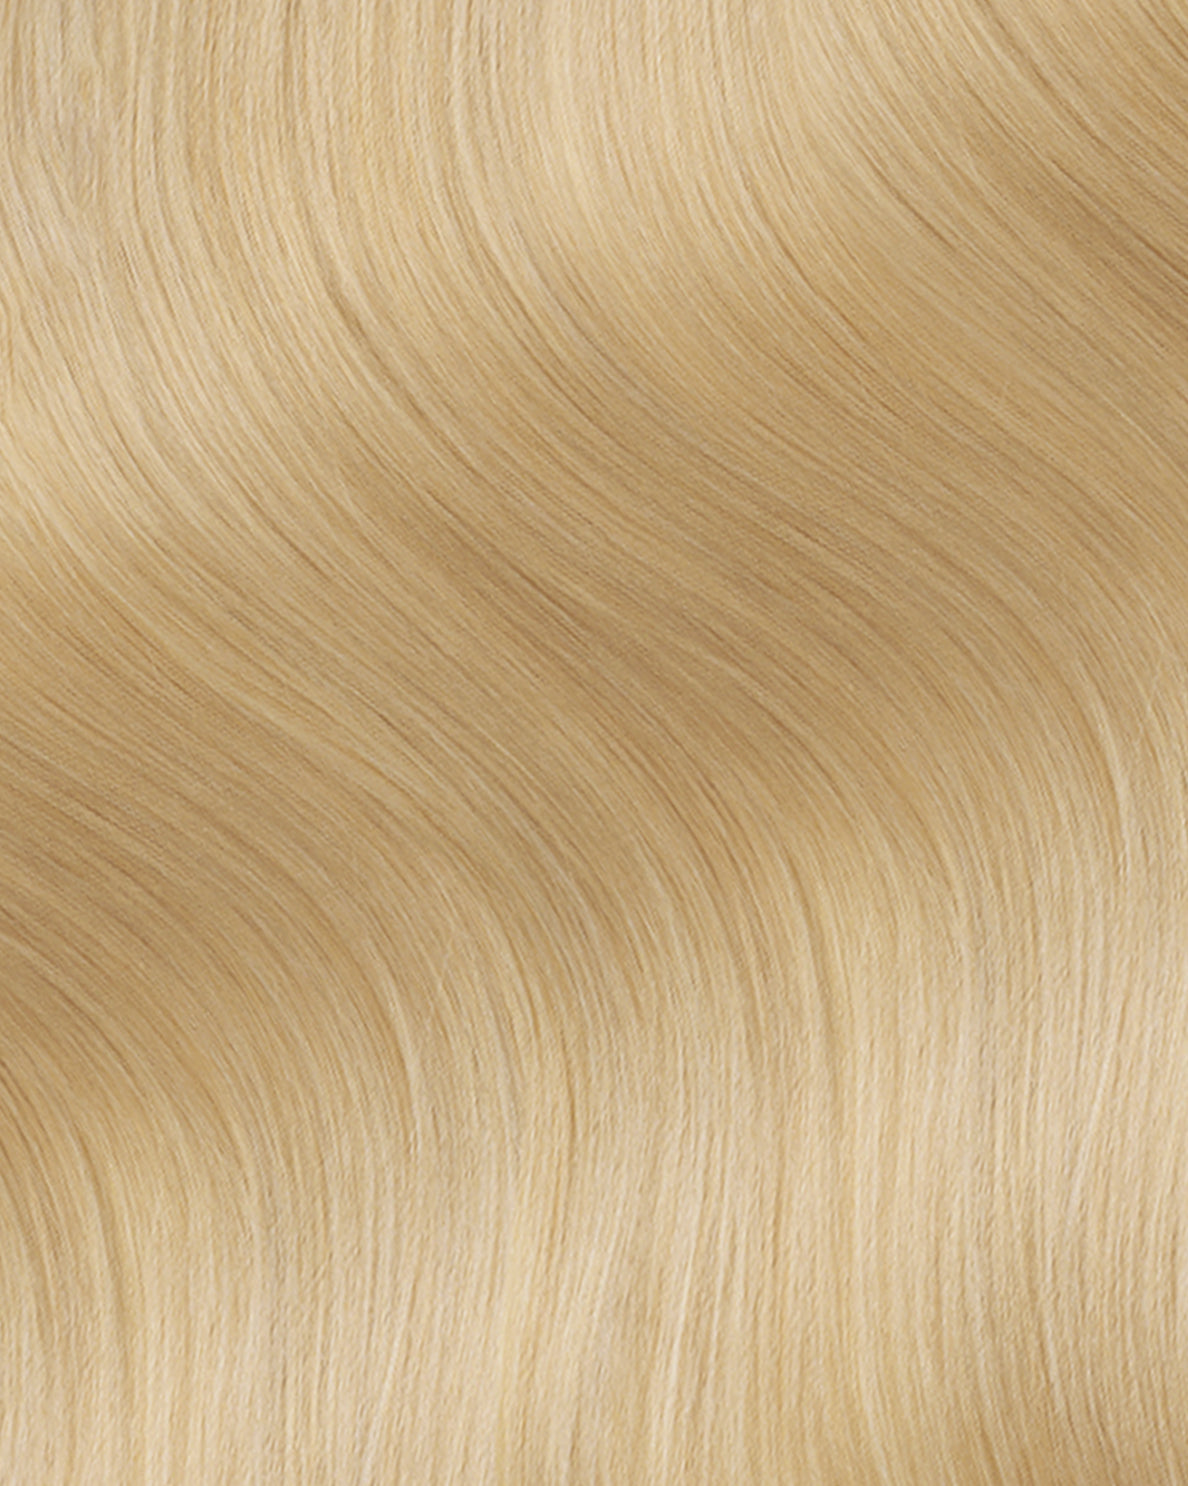
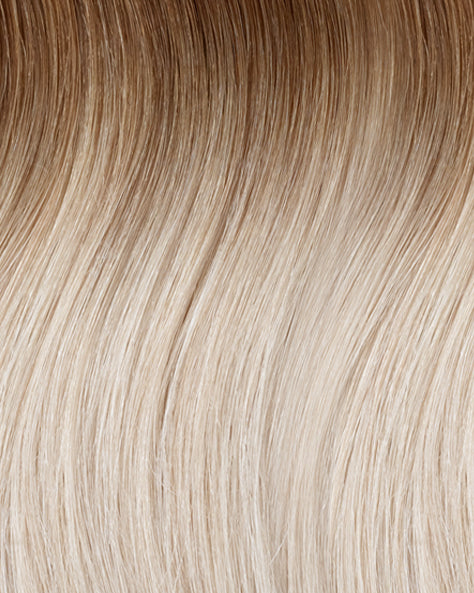
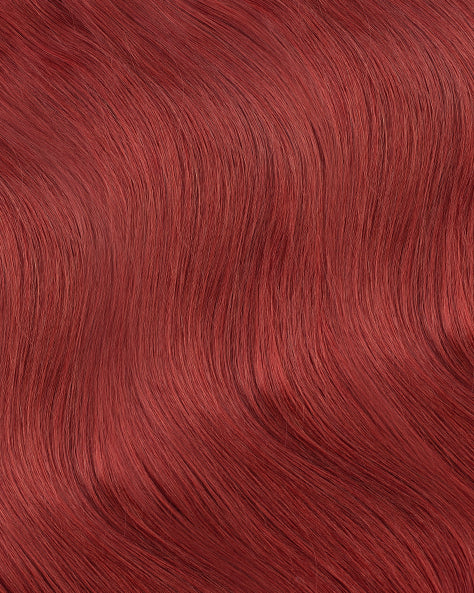
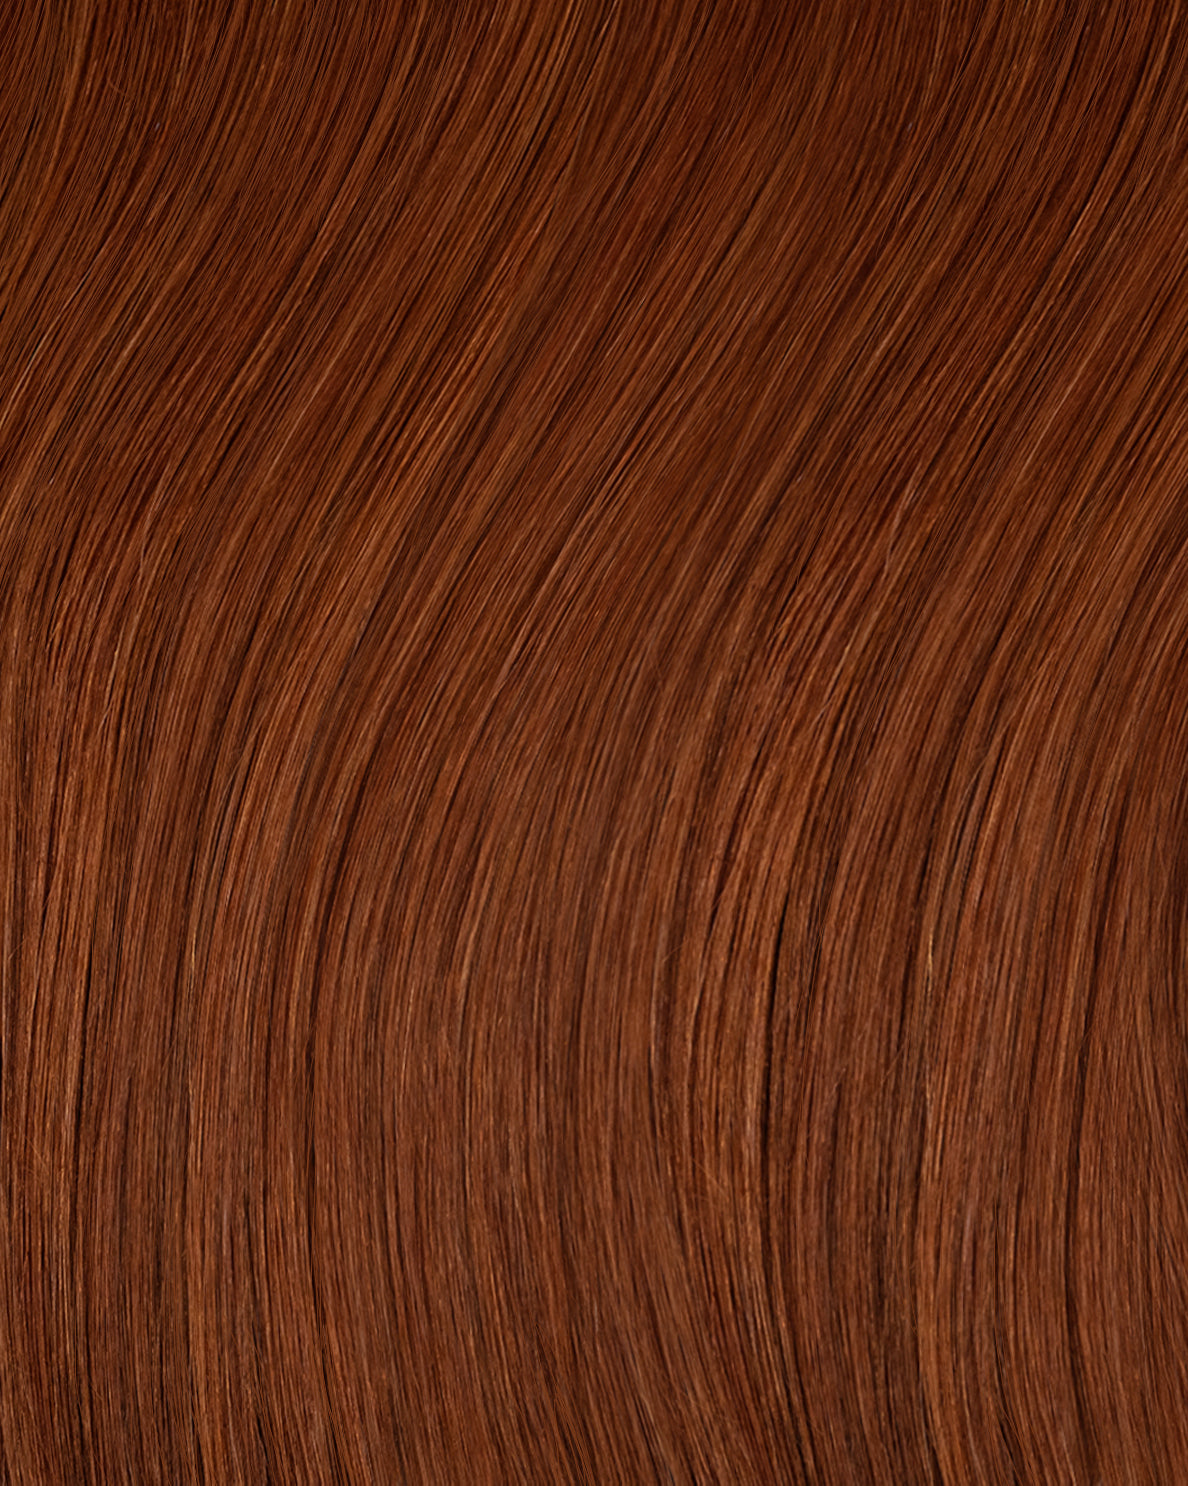
Our range includes a large selection of colors such as black, brown, blonde, and red, along with various effects like ombre, balayage, and highlights. Catering to different hair types, discover our curly hair clip-in extensions and explore our invisible clip-in collection for a seamless look. Gain valuable insights from our experts on how to clip in your hair extensions, suitable even for very short hair types. Learn to make the right choice between clips and tapes, or decide between invisible and regular clips for your unique hair needs.
do clip in hair extensions damage your hair?
For those concerned about the health of their natural hair, clip-in extensions are a safe choice. Clip-ins don't require heat or chemicals for installation, which reduces the risk of damage to your hair. They simply clip onto your hair, which means you can apply and remove them without professional help. This DIY aspect makes them a favorite among those who prefer a hands-on approach to their hairstyling.
The maintenance of clip-in hair extensions is straightforward. With proper care, including gentle washing, conditioning, and storage, your extensions can last a long time. This makes them a cost-effective solution for those who desire the versatility of changing their hairstyle without frequent salon visits. If you're considering alternatives to clip-in extensions, check out our tape-in hair extensions, ponytail extensions, and our range of human hair wigs, all designed to complement a variety of hair types and styles.
Stay updated with our blog and social media channels, where we regularly post hair care tips, styling tutorials, and the latest trends in clip-in hair extensions. Whether you're a first-time user or a seasoned extension enthusiast, our resources are tailored to help you make the most of your clip-in hair extensions.
clip in hair extensions.
how to install clip-in hair extensions?
To ensure a natural and seamless look, it's important to blend the extensions with your natural hair. Here's how to install clip ins step-by-step:
- You can begin by clipping in the 3 and 4 clip wefts starting at the bottom of your head, always working your way up. This method is the perfect solution for adding length and volume in just minutes, transforming your style with our clip ins.
- First, attach the middle clip-ins, then secure the pieces to your hair with the side clips. Feel free to stack as many wefts as you see fit, but do not exceed the middle of your head (by the ear line), to keep the clip ins from showing through.
- Finish by adding the smaller wefts: the 2-clip wefts will go to the sides of your head for more volume.
- Once you've attached all the wefts, gently brush your hair together with the extensions using a soft bristle brush. This helps to integrate the clip-ins with your hair, creating a smooth transition.
If you have fine or thin hair, you might consider lightly teasing the roots where the clips are attached for extra hold. Our clip-in extensions are made from 100% human hair, providing the most natural appearance and seamless blend with your own hair, enhancing the overall look with superior quality and texture.
Make sure to use a curling iron or straightener to style your hair and the extensions together, which helps in achieving a cohesive and polished look.
Remember, when using heat tools, apply a heat protectant to both your natural hair and the extensions to maintain their quality and longevity.
Our step-by-step installation process is the perfect solution for those seeking an effortless way to achieve a glamorous and fuller hair look, ensuring that your style transformation is quick and flawless.
how to remove clip-in hair extensions?
When it comes to removing clip-in hair extensions, the process should be as gentle and meticulous as their application. Proper removal is essential to maintain both the integrity of your extensions and the health of your natural hair. Here's a step-by-step guide to ensure a smooth removal process:
- First, you need to find where each clip-in extension is attached to your hair. You can do this by gently feeling your scalp. Once you locate a clip, hold the hair above it to isolate the section.
- Carefully unclip the extensions. This is typically done by pressing on the sides of the clip ins or sliding them out of your hair, depending on the type of clip used. Be gentle and avoid pulling your natural hair.
- Once unclipped, gently pull the extension away from your head. It should slide out easily. If you feel resistance, check if the clip is completely unfastened.
- After all the extensions are removed, it's important to store them properly to ensure their longevity and maintain their quality.
- Brush out each weft gently with a soft bristle brush to remove any tangles or knots. If you've used any styling products, consider washing the extensions with a mild shampoo and let them air dry completely before storing them. Regular maintenance, including gentle washing and proper storage, will significantly extend the life of your clip-in hair extensions, keeping them ready and in excellent condition for your next use.
- Lay the extensions flat in a storage box or hang them on a suitable hanger to prevent them from getting tangled or damaged. Avoid storing them while damp or in direct sunlight, as this can lead to deterioration of the hair quality.
Proper storage not only keeps your clip-in extensions ready for the next use but also extends their lifespan, ensuring you get the most out of your investment.
By following these steps, you ensure the longevity of your hair extensions and protect your natural hair from potential damage. Remember, the key to a seamless extension experience lies not only in how you wear them but also in how you care for them post-use.
how to wash clip-in hair extensions?
You should wash the clip-in hair extensions only when necessary. It's recommended to use organic, sulfate-free shampoo, conditioner, and a hair mask to maintain their quality.
Our extensions should be washed around every 10-20 wears or when there is too much build-up of products and they become unmanageable to style. It all depends on how long they are being worn and how much product is being used on them.
Here's a step-by-step guide on how to wash your hair extensions:
- Start by gently brushing your clip-in hair extensions to remove any tangles or knots. Use a wide-tooth comb or a soft bristle brush, starting from the ends and gradually working up to the roots. This step is crucial to prevent matting and tangling during the washing process.
- Hold the extensions under lukewarm running water. Avoid using hot water as it can damage the hair. Ensure that the water flow is gentle and consistent, thoroughly saturating the extensions from the top and apply a small amount of organic, sulfate-free shampoo onto the extensions. Gently massage the shampoo into the hair in a downward motion, from the clips to the ends. Avoid scrubbing or twisting the hair as this can cause damage.
- Carefully rinse the shampoo out of the extensions under lukewarm water. Ensure that the water runs clear and all shampoo residues are removed. It's important to maintain a downward direction of the water flow to prevent tangling.
- Apply a generous amount of sulfate-free conditioner. Focus on the mid-lengths and ends, avoiding the clip area as it can loosen the wefts. Leave the conditioner in for a few minutes to deeply nourish the hair.
- For additional care, apply a hair mask once a month. Spread the mask evenly throughout the hair and leave it on as per the product's instructions before rinsing.
- Rinse the conditioner and hair mask thoroughly with cool water to seal the hair cuticles, enhancing shine and smoothness.
- Gently squeeze out excess water with a soft towel. Lay the extensions flat on a dry towel and leave them to air dry. Avoid rubbing the hair with the towel as this can cause frizz and damage. If you need to use a blow dryer, set it to a cool or low heat setting. Hold the dryer at least six inches away from the extensions and use a brushing motion to ensure even drying.
- Once the hair is partially or fully dry, gently brush through the extensions starting from the ends and moving upwards to remove any tangles formed during the washing process. When drying the extensions, it's best to air dry them; however, if you're in a hurry, you can use a blow dryer on a low heat setting as mentioned.
- Style the extensions as desired once they are completely dry. Always store them in a cool, dry place, preferably in a hair extension storage bag to maintain their condition.
To further protect your clip-in hair extensions, consider using a leave-in conditioner or a hair serum after washing. These products help to keep the extensions soft, shiny, and manageable, reducing the risk of tangling and damage.
Remember, the key to long-lasting clip-in hair extensions is gentle and proper care. Follow these steps to keep your extensions looking healthy, shiny, and beautiful.
Purchasing the right quality extensions is crucial for longevity and satisfaction. Check out our final sale items for great deals on high-quality clip-in extensions here.
Check out our article on how to care for you hair extensions for more information.
how to style clip-in hair extensions?
Hair extensions can be styled with a variety of heat tools, such as curling irons, flat irons, and blow dryers. They respond well to heat, allowing you to create everything from beachy waves to sleek, straight looks.
When styling hair extensions, it's beneficial to start with a plan. Consider the final look you're aiming for and choose the appropriate tools and products. For instance, if you're going for curls, a curling wand with a heat setting suited for human hair is ideal. To achieve a more voluminous look, try teasing the hair at the roots after attaching the extensions.
Our 100% human hair extensions are versatile and suitable for all hair types, allowing you to create a variety of styles that suit your individual look. Feel free to cut, dye, or use heat styling tools on them.
Remember, the key to a natural and appealing look is blending the extensions seamlessly with your natural hair, so take the time to ensure they are well-integrated. To protect the integrity of the hair, use a heat-protectant spray and avoid excessive temperatures.
Color customization is a thrilling aspect of using hair extensions, allowing you to tailor them to your unique style, depending on different hair types. If you're considering changing the color of your extensions, you can do this at home with the right tools and techniques. It's important to choose quality hair dye and follow the instructions carefully to avoid damaging the hair:
- Start by testing the dye on a small section to ensure you achieve the desired color. Remember to dye the extensions before attaching them to your hair.
- After dyeing, give them a thorough wash and condition to keep them looking vibrant and healthy. This DIY approach lets you express your creativity and ensures your extensions perfectly match your envisioned look.
It's important to be cautious with chemical treatments. We advise against using bleach or other harsh chemicals, as they can damage the hair.
We strongly advise against dyeing curly hair extensions. The chemicals in hair dyes can significantly alter or damage the curls' natural pattern. This often results in a loss of their natural bounce and definition. To preserve the beauty and integrity of your curly extensions, it's crucial to avoid any chemical treatments that could potentially compromise their quality.
how to put in clip-in hair extensions for thin hair?
Adding clip-in hair extensions to thin hair requires a delicate touch and strategic placement for a natural, fuller look. Here's a simple guide to enhance your hairstyle seamlessly with our clip ins:
- Begin by clipping in the 3 and 4-clip wefts to add volume to the back of your head.
- Make sure to place them strategically for a natural look, and continue with the 1 and 2-clip wefts on the sides.
- Blend the extensions with your natural hair by brushing and styling as desired.
Our invisible clip-in extensions allow you to add more volume and length to your hairstyle, even if you have thin hair.
To enhance the transformation, consider using different lengths of clip-ins to create layers. This can add dimension to your hairstyle, making it look more dynamic and natural. Start with longer wefts at the back for length and shorter ones towards the front to frame your face. For those with shorter hair, layering can be particularly effective in achieving a seamless blend.
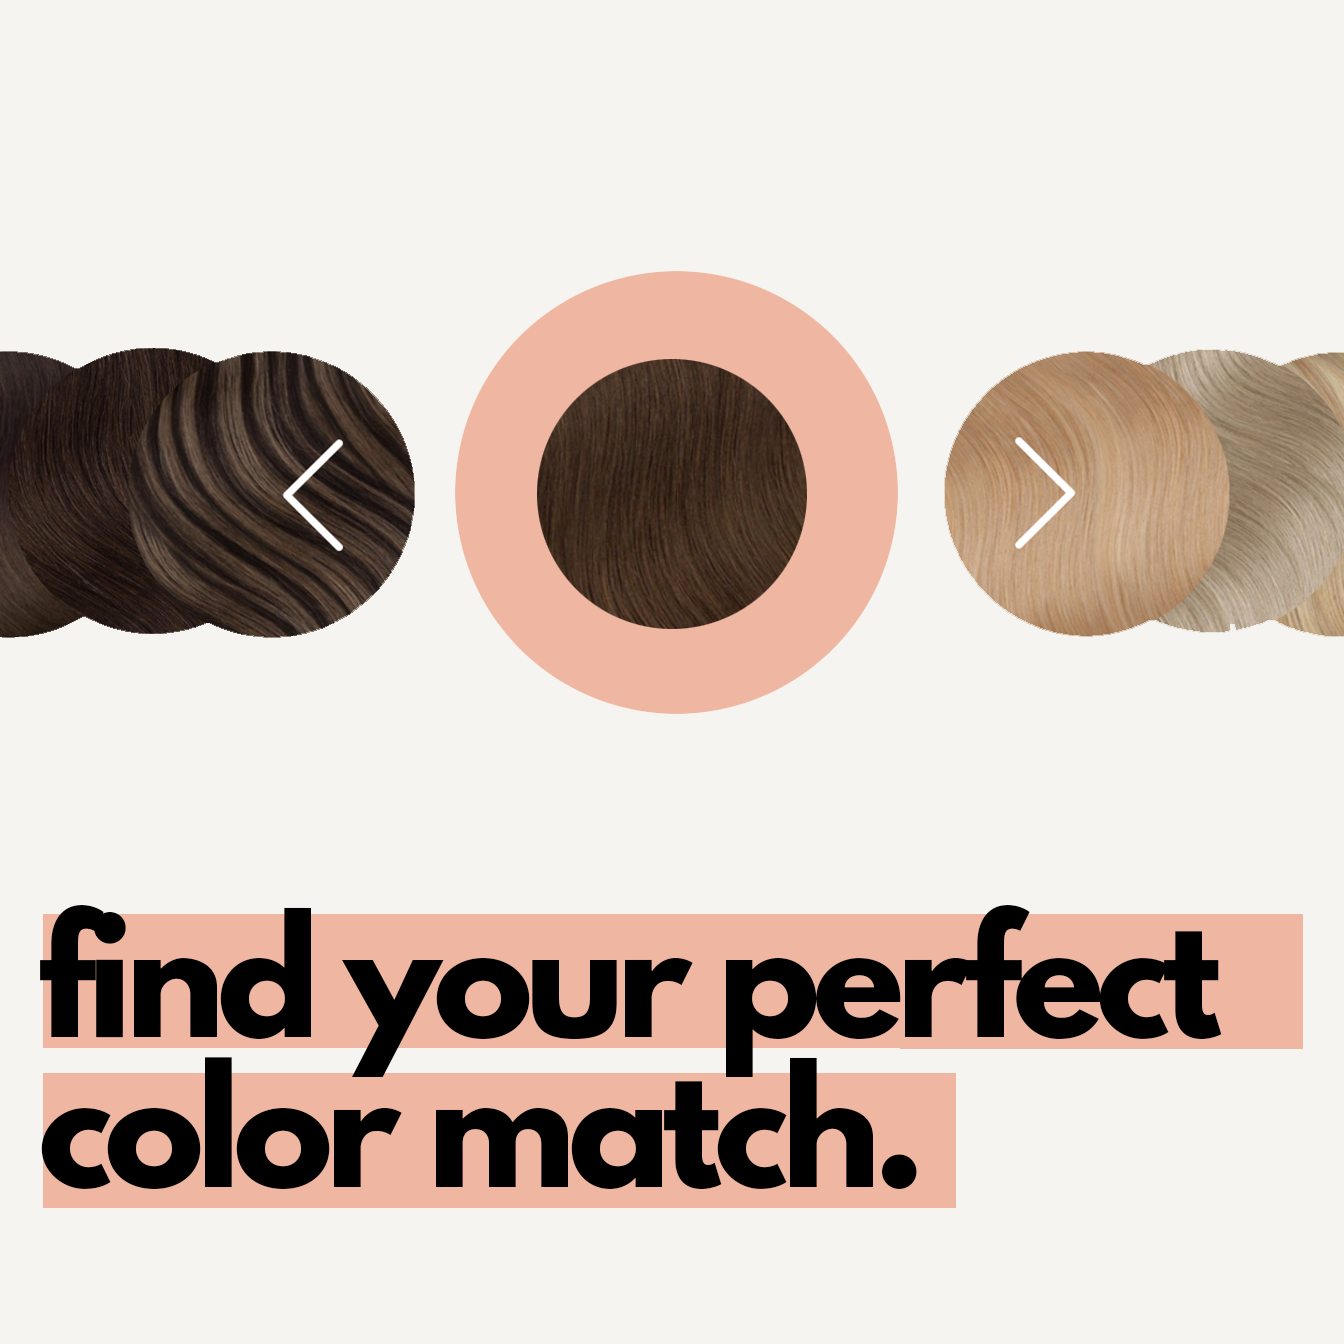
Remember, achieving a flawless finish is all about the details. Pay close attention to the color match between your natural hair and the extensions. To assist you in this, be sure to check out our quiz on our website. If you can't find an exact match, it's best to choose a shade that closely resembles your natural hair color.
Opting for this subtle blending approach can significantly enhance the natural and sophisticated appearance of your hairstyle.
For more details, check out our article on how to blend hair extensions with thin hair.
how long do clip-in extensions last?
The lifespan of clip-in hair extensions largely depends on their quality, how often they are used, and the level of care they receive. On average, with regular use, which includes consistent cleaning, moisturizing, and careful handling, clip-in hair extensions can last between 3 to 6 months.
However, with less frequent use and meticulous maintenance, their lifespan can extend up to a year or even longer in some cases.
It's also worth considering the impact of different styling habits associated with various hair types. Extensions used in hair types that are frequently styled with high heat or complex hairstyles might deteriorate faster than those in hair types styled more gently or less often.
Moreover, the climate and environment you live in can affect the longevity of your hair extensions. Humid environments, exposure to salt water, or regular swimming can reduce the lifespan of clip-in extensions, regardless of hair types. It's important to take these factors into account and adjust your care routine accordingly.
Hair extensions made from high-quality, 100% human hair tend to last longer than synthetic ones. They withstand styling and washing better, maintaining their texture and strength.
While the quality and maintenance of the extensions are paramount, understanding the nuances of how they interact with different hair types, styling practices, and environmental factors is key to getting the most out of your clip-in hair extensions.
how to put in hair extensions with short hair?
Adding hair extensions to short hair can be challenging, but with the right technique, it becomes the perfect solution for achieving longer and fuller hair. Here's how to master the art of blending extensions with short hair for a stunning transformation:
- Start by straightening both your natural hair and the extensions to ensure they blend seamlessly. This step ensures that both your hair and the extensions are sleek and uniform in texture, making them blend seamlessly.
- With short hair, layering becomes crucial. Begin by braiding and pinning up the bottom layer of your natural hair. This creates a foundation for attaching the extensions.
- When it's time to attach the extensions, follow a strategic approach. Begin by clipping in the larger wefts at the bottom of your hair. This adds volume and length to the lower sections. Then, work your way up by adding smaller wefts on the sides. This layering technique ensures that the extensions are evenly distributed and blend naturally with your short hair.
- Once the extensions are securely in place, use a brush to gently blend your natural hair with the extensions. Styling your hair helps in achieving a cohesive and polished look.
By attaching hair extensions to short hair using this method, you can easily achieve a fuller and longer hairstyle. This straightforward method is a fantastic way to make a big difference in your appearance, giving you a new and exciting look without much effort.
For more detailed instructions and additional tips, you can visit the full guide here. This guide provides valuable information for those with short hair who are looking to use hair extensions, guiding them through the process for a seamless and natural outcome.
how to wear clip-in hair extensions without damaging your hair?
When considering the purchase of clip-in hair extensions, especially during a final sale, it's essential to not only make a smart buying decision but also ensure you wear them without causing any harm to your natural hair. Follow these steps for a safe and stylish experience:
- To wear clip-in hair extensions without damaging your hair, it's important to properly prepare your hair and the extensions. Start by gently brushing your hair and the extensions to remove any tangles.
- As you begin to clip in the extensions, focus on a secure but gentle attachment. Avoid any actions that might pull or tug on your natural hair. It's important to fasten the clips securely but without excessive tightness. This not only enhances comfort but also minimizes the risk of putting stress on your scalp and hair.
- Be mindful of how you distribute the extensions around your head. Evenly placing them is crucial to prevent undue stress on any particular area. This balanced distribution promotes comfort and ensures the well-being of your natural hair.
- Once the extensions are in place, continue to be mindful of your hair. Avoid hairstyles that are overly tight and hair accessories that could snag the extensions. This proactive care helps maintain the integrity of both your natural hair and the extensions.
By following these guidelines, you can confidently wear your clip-in hair extensions, knowing that you're safeguarding the health of your hair. Remember, it's all about a gentle approach and strategic placement for a damage-free and stylish experience.
How long can you keep clip-in extensions in your hair?
Clip-in hair extensions are designed to be a temporary styling solution, and it's recommended to remove them before bedtime. Sleeping with extensions in place can lead to tangling or damage for both the extensions and your natural hair. To maintain the health of your hair and ensure the extensions last longer, it's best practice to take them out at the end of the day. This nightly routine will help you wake up to a refreshed and tangle-free mane.
Keeping them in while sleeping can cause both the extensions and your natural hair to become tangled or damaged. It's best to remove them at the end of the day to maintain the health of your hair and the longevity of the extensions.
Proper storage plays a vital role in extending the life of your extensions. Store them in a cool, dry place away from direct sunlight. A silk or satin bag is ideal for preventing tangles and preserving the hair’s natural moisture.
By following these care and maintenance tips, you can enjoy your clip-in hair extensions while preserving their quality and the health of your natural hair. Remember, a little extra care goes a long way in keeping your extensions looking their best.
What are clip-in hair extensions?
Clip-in hair extensions are a fantastic and easy way to add both length and volume to your hair. Think of them as cool little hairpieces with tiny metal clips (hence the name "clip ins") that you can easily snap into your hair.
These clip ins are awesome because they're made from real human hair, so you can treat them just like your natural hair. You can curl, straighten, and even dye them to switch up your style. Plus, they come in various lengths and colors, letting you play around with your look effortlessly.
The best part about these clip ins is their simplicity. You don't need to be a hairstyling pro to use them. In just a few quick minutes, you can clip them in and enjoy a completely new look with added length and volume.
We've designed these clip ins to be as comfortable as possible. They're lightweight, blend well with your natural hair, and look totally natural. This means you can boost your hair's length and volume without any stress or worry about hair damage. They're a safe and hassle-free option for mixing up your hairstyle.
Our clip ins are crafted from high-quality human hair. They not only look real but are also durable. With the right care, they can be a long-lasting addition to your style toolkit.
So, go ahead and try them out! Whether you're prepping for a romantic date, a fun night out, or just want to add a little extra length and volume to your everyday look, our clip-in hair extensions are an excellent choice. They're an easy, no-fuss way to enhance your hairstyle.
Check our clip-in human hair extensions collection here.
Hair extensions have revolutionized the way we think about hair styling. These ingenious additions are not just a trend but a transformative tool for anyone looking to upgrade their hairstyle with ease and confidence.
Unlike traditional hair extensions that require professional fitting, clip-ins offer the freedom to change your look in the comfort of your home. This do-it-yourself approach has garnered a massive following, particularly among those who value flexibility in their styling routine.
Moreover, the ease of installation and removal of clip-in hair extensions is a significant benefit. You can achieve a salon-quality look in minutes without any specialized tools or skills. This ease of use extends to their maintenance as well. Since they're made from 100% human hair, they can be washed, dried, and styled just like natural hair, making them a practical and convenient option for everyday use or special occasions.
Hair extensions offer a blend of convenience, quality, and versatility that is hard to beat. They're an ideal solution for anyone looking to enhance their hairstyle without committing to permanent changes. So, embrace the freedom and creativity that our clip-in hair extensions provide and enjoy the endless possibilities they bring to your styling.
